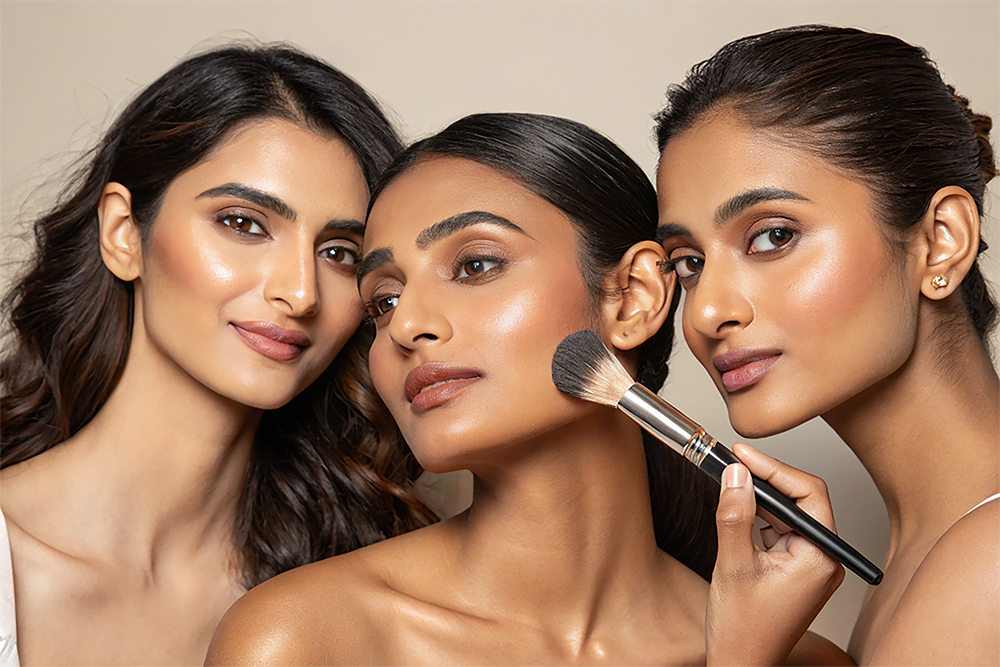
Contouring and Highlighting your pretty facial features is as important as getting the right eyeshadow and lipstick shade for yourself. When both of them are done right, they can sculpt your face into Greek Goddess perfection; when not, they can spoil your whole look. Thus, to help you navigate these enhancements better, we at PAC have made a comprehensive guide to contour and highlight the right way so that your facial features can look their best!
Understanding Your Face Shape
Before diving into the art of contouring and highlighting, it's crucial to determine your face shape. This ensures that you apply and understand the contouring techniques by face shape in a way that enhances and balances your features rather than working against them. Here’s a quick breakdown of common face shapes:
- Oval: Well-balanced proportions with softly curved edges.
- Round: Equal width and height, with softer, circular contours.
- Square: Strong jawline and broad forehead, with equal proportions.
- Heart: Wider forehead with a narrower, pointed chin.
-
Long: Elongated facial structure, with a narrow width.
Now that you've identified your face shape, let’s get into the fun part—contouring and highlighting to enhance your best features!
How to Contour and Highlight Like a Pro
Before jumping into techniques, let’s break down the essentials of contouring and highlighting.
What is Contouring?
Contouring is the art of using a shade darker than your natural skin tone to create depth and dimension. It helps define facial features by mimicking natural shadows, making some areas appear slimmer or more structured.
What is Highlighting?
Highlighting is the process of using a shade lighter than your skin tone and even a slight shimmer to bring light to the high points of your face. It enhances your natural glow and draws attention to specific areas, creating a lifted and radiant look.
Step-by-Step Guide to Contouring
- Choose the Right Contour Product
- For a natural look, use a cream-based contour that blends seamlessly into the skin.
- For a more defined look, opt for a powder contour that sets in place for a matte finish.
- Stick to cool-toned or neutral brown shades to mimic natural shadows (avoid orange-toned products).
Identify the Key Areas to Contour
Depending on your face shape, contour should be applied to:
- Hollows of the cheeks (just below your cheekbones)
- Along the jawline to define the face
- Sides of the forehead and temples to create balance
- Sides of the nose (optional for a slimmer nose effect)
Apply the Contour with Precision
- Use an angled contour brush for powders or a dense blending brush for creams.
- Start with a small amount of product—build it up gradually to avoid harsh lines.
-
Use light strokes and follow the natural structure of your face.
Blend, Blend, Blend!
- Blending is key to achieving a natural look. Use a damp beauty sponge or fluffy brush to diffuse the contour.
- Always blend upward for a lifted appearance—never drag the product downward.
- Set with the PAC Translucent Powder to lock it in place.
Step-by-Step Guide to Highlighting
Choose the Right Highlighter
- For a natural glow, opt for the PAC Spotlight Radiance Liquid Highlighter.
- For a bold, radiant look, use the PAC Killer Glow Highlighter with a soft shimmer.
- Avoid chunky glitter; instead, look for finely milled pearlescent formulas.
Identify the Key Areas to Highlight
Highlighting should be applied to the high points of the face where light naturally hits:
- Top of the cheekbones to enhance structure
- Bridge of the nose to create definition
- Center of the forehead to brighten up the complexion
- Cupid’s bow to accentuate the lips
- Inner corners of the eyes for an awakened look
Apply and Blend for a Seamless Glow
- Use a small fluffy brush or fingertips for precise application.
- Blend gently in circular motions to ensure a seamless transition with the skin.
- If using powder, lightly spritz the PAC Micro Finish Makeup Fixer onto the brush before applying it to intensify the glow.
Contouring and Highlighting Techniques for Each Face Shape
Here are some contouring and highlighting tips for various face structures:
- Oval Face: Enhancing Natural Balance
Goal: Maintain the natural symmetry while defining features subtly.
- Contour: Apply lightly along the hollows of the cheeks, jawline, and temples.
Highlight: Brighten the center of the forehead, the bridge of the nose, and the tops of the cheekbones.


